
Last updated October 31, 2026
 Architectural shingles
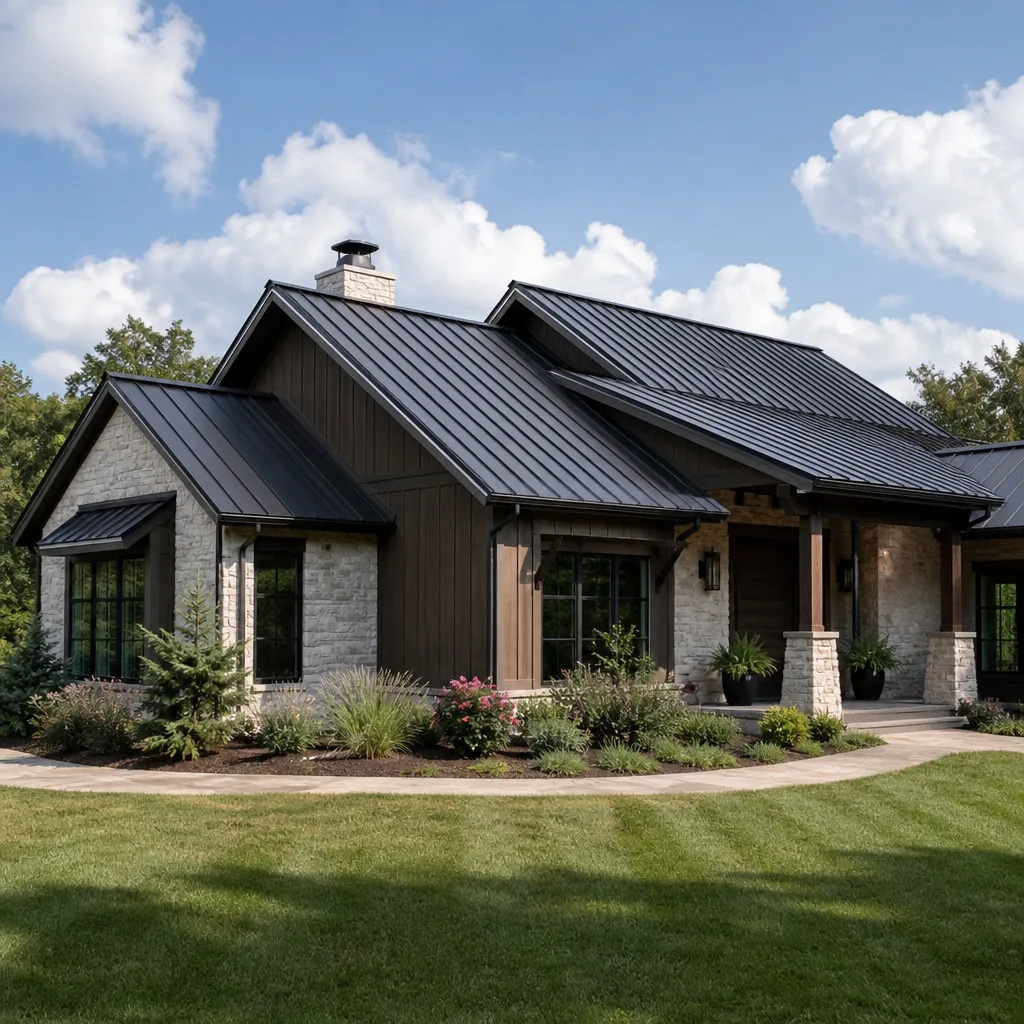 Metal roofing
 Tile roofing
 GAF
 Owens Corning
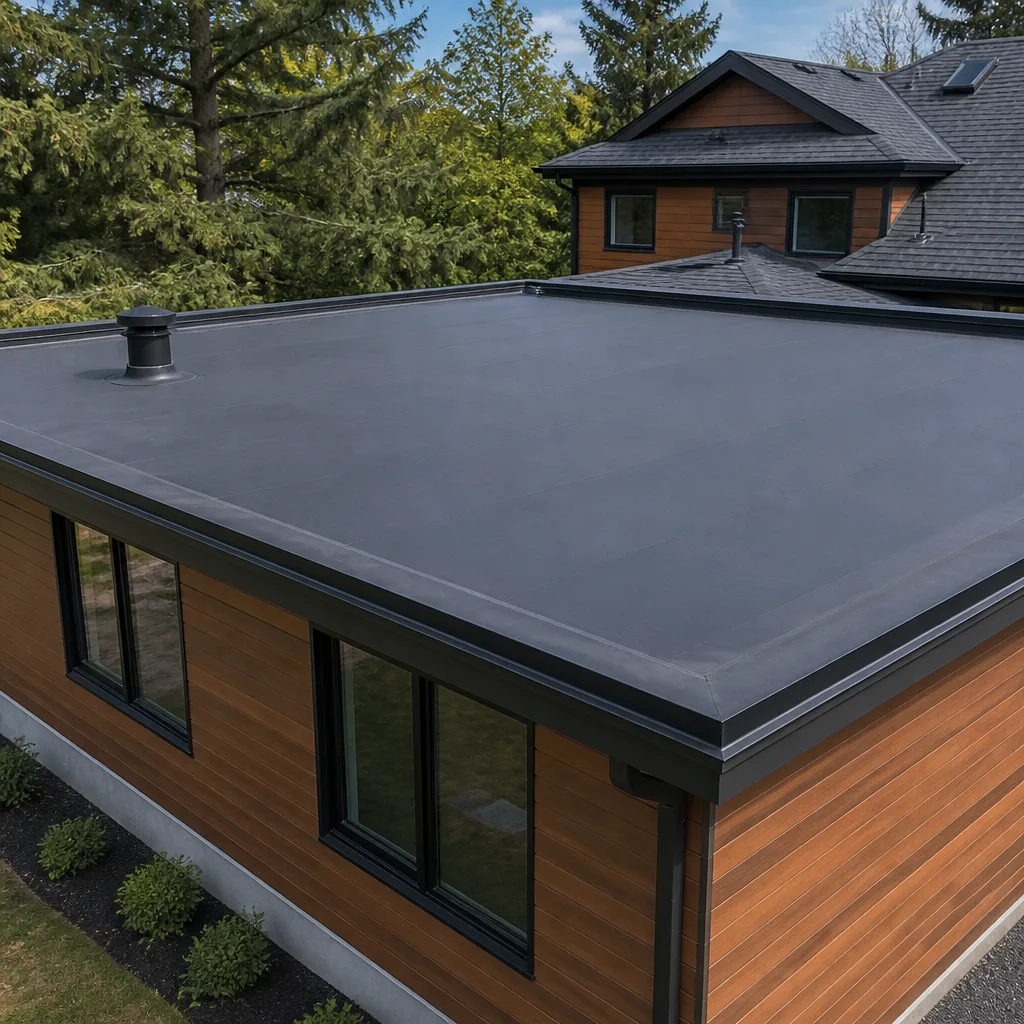 Flat & low-slope
Free roof inspection with deck photos before we talk money - GAF and Owens Corning certified installation
Roof Repair Troubleshooting: Common Problems and How to Fix Them
Here’s a fact that surprises most homeowners in East Los Angeles: the water stain on your ceiling is almost never directly below where the roof is actually leaking. Water travels. It runs along rafters, drips onto insulation, follows seams in the decking, and finally pools at the lowest point it can find before soaking through. That means the brown ring above your couch could be fed by a breach fifteen feet away, near a vent pipe or a flashing joint you’d never think to inspect. This guide teaches you how to trace the real failure point, not just treat the symptom. By the time you finish reading, you’ll know which problems are urgent, which are manageable, and which ones need a trained eye before the next rain hits.
Styles & brands we work with
Quick Answer
Roof Repair services start with identifying the failure mechanism: shingle damage, flashing failure, or membrane breach. Each requires a different fix, and using the wrong one means the leak returns. Trace water migration from the visible stain uphill to the actual entry point, then match the repair to the cause. In East Los Angeles, common culprits include sun-cracked pipe boots, lifted flashing from Santa Ana wind cycles, and granule loss from repeated heat exposure.
Table of Contents
- How Water Actually Travels Through a Roof
- The Symptom-to-Cause Matrix: What Your Ceiling Is Telling You
- Shingle Failures: Cracks, Curls, and Missing Granules
- Flashing Failures: The #1 Source of Leaks Around Penetrations
- Membrane Failures on Flat and Low-Slope Roofs
- When the “Small Repair” Masks a Ventilation Problem
- Step-by-Step: Diagnosing a Leak From Your Attic First
- DIY Limits: What to Check Yourself and What to Leave Alone
- Common Mistakes to Avoid
- When to Call a Professional
- Frequently Asked Questions
- The Bottom Line
How Water Actually Travels Through a Roof
Water obeys gravity, but not in a straight line. Once moisture gets past the outer roofing surface, it moves unpredictably. It clings to the underside of the decking, travels along rafters, and saturates insulation before gravity finally pulls it into your living space. A breach near the ridge can present as a stain near an exterior wall. A flashing gap on the south slope can soak a ceiling on the north side of the house.
In East Los Angeles homes, we’ve traced leaks from vent pipe collars that ended up staining kitchen ceiling corners twelve feet away. The path ran along a rafter, hit a seam in the plywood decking, pooled there, and dripped through. The homeowner had already patched the visible ceiling area twice. It kept leaking because the fix was never applied at the source.
Effective troubleshooting follows a simple rule: start at the symptom, then map the water’s likely path uphill and upslope to the actual entry point. This requires getting into the attic with a flashlight during daylight, looking for water stains on the underside of the decking, following them upward, and examining every penetration along that slope. Roof penetrations include plumbing vent pipes, chimney bases, skylights, exhaust fans, and any crack where two roof planes meet.
Here’s how water migration typically works through a roof assembly:
- Rain hits a failed shingle, cracked flashing, or degraded membrane.
- Water enters the roof cavity and contacts the decking.
- Water runs along the decking’s underside or follows rafter lines downhill.
- Insulation absorbs the water, spreading the damage zone wider.
- Water pools at a low point or seam and finally breaks through the ceiling material.
This is why we inspect first and recommend second. Before any repair makes sense, the entry point needs to be located. Otherwise you’re sealing the ceiling, not the roof.
The Symptom-to-Cause Matrix: What Your Ceiling Is Telling You
Every interior symptom points toward a category of roof failure. Reading the symptom correctly saves time and money. Here’s what we look for on service calls across East Los Angeles:
- Brown rings or water stains on the ceiling: usually active or past leaks from a breach above. If the ring is dark and soft to the touch, the leak is likely active. If it’s faded, brittle, and hard, it’s an old leak that may already be patched. Verify before acting.
- Bubbling paint or peeling drywall tape: moisture saturating the ceiling material from behind. The bubble forms because the drywall is holding water vapor against the paint layer. This indicates a slow, persistent leak rather than a sudden downpour breach.
- Mold odor without a visible stain: trapped moisture in insulation or wall cavities. This is common in East Los Angeles valley homes where marine-layer humidity combines with a small roof leak to create a damp, hidden microclimate. It can take weeks of moisture exposure before a stain breaks through the ceiling.
- Granules in the gutters or at downspout bases: asphalt shingle deterioration. Some granule loss is normal for older roofs, but a heavy accumulation after a rain event means the shingles’ protective coating is failing. The shingles themselves may still shed water for a while, but they’re losing UV resistance.
- Sagging or soft spots on a flat roof: long-term water infiltration into the membrane or underlayment. By the time the surface feels soft from inside, the structural layer is compromised.
- Damp insulation in the attic: the smoking gun for a recent breach. Feel the insulation. If it’s wet near the decking but dry lower down, the leak entry point is directly above the wet zone.
No single symptom tells the whole story. A bubbling paint spot paired with granule loss suggests shingles are aging out. Mold odor without staining usually points to flashing, not shingles. The goal is to read the combination and narrow the search area before you cut into or climb onto anything.
We service the full spectrum of roof conditions in East Los Angeles. Homes built in the 1940s and 1950s often have decking and framing that has seen several reroofing cycles. Homes from the 1980s and later typically have different ventilation layouts. Knowing the construction era helps us predict what we’ll find before we even put a ladder up.
Shingle Failures: Cracks, Curls, and Missing Granules
Asphalt shingles are the most common roofing surface in East Los Angeles, and they fail in predictable ways. Sun exposure, thermal cycling, and age work together to degrade the asphalt mat, while wind and impact do the mechanical damage.
Cracked shingles typically come from either age or impact. A shingle that’s lost its flexibility will crack when the roof deck shifts slightly with temperature changes. Impact cracks from falling tree branches or hail are more localized. Both types break the shingle’s water-shedding ability, and the crack becomes an entry point.
Curling or cupping shingles signal that the shingle is nearing the end of its life. Curling can be caused by excessive attic heat (a ventilation problem), poor installation with wrong fastener placement, or moisture trapped between layers. Curled edges catch wind easily and tear off during the Santa Ana wind events that hit East Los Angeles each fall.
Missing granules expose the asphalt base to UV radiation, which accelerates the breakdown. A shingle that’s bald in patches is a shingle that’s done. The granules are what give asphalt shingles their 20- to 30-year service life. Without them, the mat dries out and splits.
Here’s the honest assessment on shingle repairs: a cracked shingle can be replaced individually. So can a few missing shingles after a windstorm. But when you see curling, widespread granule loss, or shingles that are brittle across an entire slope, patching becomes a losing battle. The roof is aging out, and each repair buys less time than the last.
When it comes to materials, we don’t push a single brand. Our warehouse stocks shingles from GAF, CertainTeed, and Owens Corning, among others. That matters because a 1940s bungalow in Boyle Heights and a 1990s track home in El Sereno have different pitch, exposure, and architectural constraints. The right material for the job is the one that matches the existing roof and the homeowner’s actual budget, not the only brand we carry. Seven brands, one contractor means the recommendation is driven by fit.
Replacing individual shingles is within reach for a confident DIYer with a flat bar and roofing nails, provided the area is safely accessible and the shingles aren’t brittle. But if the damage is widespread or the roof is steep, finding a professional who will repair what needs repair rather than quote a full replacement is the smarter path.
Flashing Failures: The #1 Source of Leaks Around Penetrations
Flashing is the material that transitions the roof surface at every interruption: chimney bases, vent pipes, skylights, wall intersections, and valleys where two planes meet. It’s made of metal (typically galvanized steel, aluminum, or copper) or flexible membrane. Flashing jobs leak more often than the field shingles do, because flashing is cut, bent, and fastened to match a complex geometry under thermal stress.
Here are the flashing failure modes we see most in East Los Angeles:
- Pipe boot cracks: the rubber or neoprene collar around plumbing vent pipes degrades under UV exposure and heat. After 10-15 years in the East LA sun, these collars split. The leak starts small, but it’s directly above the pipe penetration, so water finds a path downward quickly.
- Chimney base gaps: the mortar and flashing where the chimney meets the roof deck is a classic leak source. Flashing there is bent metal step-flashing with a counter-flashing cut into the masonry. If either piece shifts, water runs behind the flashing.
- Wall intersection failures: where a roof plane meets a vertical wall, step-flashing tucks under each shingle course and against the wall. If the wall’s stucco or siding covers the flashing’s upper edge, water can be driven behind it during wind-driven rain.
- Valley metal tears: roof valleys channel the highest volume of water. If valley metal is nailed through the water channel (a mistake), those nail holes become leak points. Debris accumulating in the valley also holds water against the metal, accelerating rust.
Flashing failures need specific fixes. Caulking a pipe boot crack can buy a season, but the boot is going to fail again. The correct repair is replacing the boot or installing a new collar unit. Chimney flashing gaps can’t be sealed from the top; the repair requires lifting shingles, resetting the step-flashing, and resealing the counter-flashing. Applying sealant over a failed flashing joint is the roof equivalent of painting over rust.
If you’re troubleshooting an intermittent leak that only appears during wind-driven rain, suspect flashing. Field shingles shed water by gravity; flashing has to resist wind pressure and capillary action. When the rain comes straight down, the flashing holds. When the wind drives the rain sideways, the flashing leaks.
Membrane Failures on Flat and Low-Slope Roofs
East Los Angeles has a significant stock of homes with flat and low-slope roof sections – mission-style houses, mid-century moderns, and postwar bungalows. These roofs don’t use shingles. They use continuous membrane systems: built-up asphalt and gravel, modified bitumen, or single-ply membranes like TPO and PVC.
Membrane failures are entirely different from shingle problems. The failure modes are:
- Seam delamination: single-ply membranes are installed in sheets with welded or taped seams. Heat, aging, and ponding water break down the seam bonding over time. The seam lifts, and water enters.
- Punctures and tears: foot traffic, fallen tree limbs, or debris blown onto the roof can puncture the membrane. Even a small tear can channel a surprising amount of water.
- Ponding water: flat roofs don’t drain like sloped ones. If the drainage isn’t working or the roof deck has sagged, water pools. Standing water accelerates membrane degradation and eventually finds a pinhole to exploit.
- Flashing at parapet walls: flat roofs drain to perimeter edges with parapet walls. The membrane has to turn up the wall, and this turn-up is vulnerable. Membrane pull-away from the parapet is a top leak source on flat roofs.
Membrane repair requires matching the patch material to the existing system. A TPO roof gets a TPO patch, heat-welded at the seams. Modified bitumen gets a bitumen-compatible patch. Mixing systems is a sure way to create a seam that doesn’t bond, which means the patch fails within months.
We work with membrane systems from manufacturers including Boral and Tamko when the roof specification calls for a specific performance tier. The key to membrane repair isn’t the brand name – it’s the compatibility between the patch and the existing field membrane. Material-agnostic means we can match what’s already on the roof instead of forcing an incompatible product onto it.
If you have a flat roof section and you’re seeing interior stains near the wall line or at the center of the ceiling, have someone look at the membrane surface. These roofs age differently than shingle roofs, and they respond to different repairs.
When the “Small Repair” Masks a Ventilation Problem
A recurring problem in East Los Angeles roofing is treating a symptom when the system that caused it is still in place. We’ve seen homes get multiple shingle patches, and each one fails within a season or two. The shingles weren’t the root cause. The attic was.
Here’s how it works. Attics over 130 degrees accelerate shingle failure from below. The asphalt mat cooks, the shingle curls, and the roof ages faster than it should. If that heat isn’t vented, new shingles installed on the same roof will degrade quickly. The repair looks like it failed because it did – it was applied to a compromised system.
Signs of poor attic ventilation include:
- Shingles that curl or crack on south-facing slopes while north slopes look fine
- Attic temperature that feels dramatically hotter than the outside air in summer
- Ice dam formation on roofs in winter (rare in East LA but possible in the hills)
- Excessive energy bills from the AC working against a hot attic
- Rust on exposed nail tips in the attic, indicating trapped moisture
The ventilation fix is often straightforward: ridge vents, soffit vents, or gable-end vents that allow air to flow from the eaves to the peak. But it’s a separate scope from a shingle repair. If the ventilation isn’t addressed, any repair is a temporary bandage.
This is why our inspection service exists as a standalone offering. It’s not a sales call dressed up as a courtesy. A Roof Inspection in East Los Angeles gives homeowners an objective assessment of the entire system – surface, flashing, structure, and ventilation – before committing to a repair or replacement scope. We’ve walked onto roofs expecting to quote a full replacement and found a quarter of the roof was fine for another five years with targeted repairs and a ventilation upgrade. Other times, the inspection reveals that patching a section would be throwing money away. The inspection tells you which.
Step-by-Step: Diagnosing a Leak From Your Attic First
Before calling anyone, there’s a diagnostic sequence you can run yourself from inside the house. This is the same sequence we start with on service visits. It’s low-risk, requires no specialized tools, and narrows the problem area substantially.
- Mark the visible stain. Note its location relative to walls, windows, and light fixtures. Photograph it. This is your reference point.
- Get into the attic during daylight. Bring a bright flashlight. Turn off attic lights if they create false shadows.
- Look at the decking directly above the stain. If the wood is wet or stained, you’re close. If it’s dry, the water is traveling from elsewhere.
- Trace stains uphill. Follow the water marks on the decking or rafters upward and toward the roof slope. Water runs downhill, so the entry point is upslope from the visible damage.
- Examine every penetration on that slope. Vent pipes, exhaust fans, skylights, and any junction where roof meets wall. Look for daylight coming through gaps, dark staining, or wet insulation.
- Check for moisture on the decking. Use a moisture meter if you have one, or feel for dampness. Wet wood near a penetration is a smoking gun.
- Document everything. Photos from multiple angles. These help us quickly understand the issue and give homeowners a reference for future comparisons.
This attic-first approach saves time. If the entry point is obvious, the repair is a straightforward matter. If the attic doesn’t reveal a clear source, the problem may be in a hard-to-see area – the roof surface itself, or under shingles, or at a flashing detail that’s only visible from above.
In East Los Angeles, the roof pitch on older homes can make attic access tight. Some houses have no attic at all – cathedral ceilings with no crawl space. In those cases, the diagnostic has to be done from the roof surface, which brings us to the next section.
DIY Limits: What to Check Yourself and What to Leave Alone
There’s a line between informed troubleshooting and unsafe intervention. Knowing where that line sits protects you, your roof, and your wallet.
Safe to do yourself:
- Interior visual inspection of ceilings, walls, and attic spaces
- Clean debris from gutters (from a safe ladder, with a spotter, or from the ground with a tool)
- Photograph shingle damage from the ground or from a window
- Mark interior stains and monitor their growth between rains
- Run a garden hose test on a suspect area while a second person watches inside (low roof areas only, without climbing onto the roof surface)
Leave to a professional:
- Any work requiring you to walk on the roof surface, especially on pitched roofs or wet surfaces
- Flashing repairs around chimneys, skylights, or wall intersections (these involve working at height and often require partial shingle removal)
- Any repair that involves cutting, prying, or removing roofing materials (one wrong move creates a new leak bigger than the original)
- Membrane patching on flat roofs (the surfaces are fragile, and an improper patch is worse than no patch)
- Structural assessment of sagging decking or rafters
Here’s the honest perspective: we’d rather you spend 20 minutes in the attic with a flashlight than 40 minutes on the roof with a caulk gun. The attic inspection is safe and informative. The roof walk exposes you to fall risk and potentially creates more damage. A misapplied sealant can trap water behind the patch, accelerating rot. A cracked shingle stepped on in the wrong place becomes three cracked shingles.
Roof leaks are urgent, but they’re not urgent enough to risk a broken bone. If the leak is active and the next rain is days away, a tarp secured properly can hold things until a professional arrives. If you attempt that, be safe about it: no wet surfaces, no windy conditions, and a solid ladder setup.
For homeowners in East Los Angeles who need an honest assessment, our Roof Repair in East Los Angeles service starts with the diagnostic, not the sales pitch. We repair when repair is right, and we’re transparent when it isn’t.
When the time comes for a bigger scope, whether it’s a full re-roof on an aging home or upgrading materials, our Roof Replacement in East Los Angeles service handles the full lifecycle. And our Sunrise Roof Repair home page has the full overview of everything we do.
Common Mistakes to Avoid
- Sealing from the inside: applying sealant, paint, or spray foam to a ceiling stain does absolutely nothing to stop the water entering the roof above. It traps moisture in the drywall and accelerates mold growth. The repair has to happen at the water’s entry point, not its exit point.
- Patching the ceiling before fixing the roof: a fresh coat of paint or drywall patch hides the symptom and removes your diagnostic reference. Once the ceiling is repainted, you lose the stain pattern that tells you where the leak is coming from. Fix the roof first, then patch the ceiling.
- Assuming the highest stain is the entry point: water runs downhill, and the entry is almost always above the stain, not at it. A stain near the ceiling’s low point could be fed by a breach at the ridge.
- Caulking flashing without addressing the underlying gap: sealant over a failed flashing joint is temporary at best. The metal still shifts with temperature, the sealant cracks, and the leak returns. Flashing needs mechanical repair, not adhesive.
- Ignoring granule loss as a non-urgent issue: heavy granules in the gutters are an early warning sign. If caught while the shingles are still water-shedding, the repair could be limited. If ignored until bare spots appear, the repair often escalates to a section replacement.
- Replacing shingles over a ventilation problem: if the attic is overheating, new shingles will age the same way the old ones did. The ventilation fix comes first, or the shingles get replaced twice.
- Waiting for the leak to “reveal itself” during the next big rain: between rains, the damage continues. Wood rot doesn’t pause. Mold doesn’t take the summer off. The earlier the diagnosis, the smaller the repair.
When to Call a Professional
Call a professional when the leak source isn’t obvious from an attic inspection. Call when the roof is too steep, too high, or too fragile to walk safely. Call when flashing is involved, because flashing repairs require skill and proper materials. Call when the leak has been “repaired” before and came back – that’s a sign the root cause was missed. And call when the roof is showing multiple failure signs at once: granules in the gutters, visible shingle damage, and interior stains. That combination usually points to a systemic issue, not an isolated one.
Before the next rain hits is the right time to act. Sunrise Roof Repair offers free estimates in East Los Angeles – call (877) 752-3460 to schedule one. We’ll diagnose honestly and recommend the right-sized scope, whether that’s a targeted repair or a conversation about the roof’s remaining life.
Frequently Asked Questions
Start in the attic, directly above the visible stain and trace water pathing uphill along decking and rafters until you find the highest wet point. In most cases, the actual entry point is the first penetration or breach upslope from the stain.
If the attic is inaccessible or the source isn’t visible, the next step is a professional inspection. Call (877) 752-3460 for a free estimate – we’ll track down the source before recommending any repair.
You can safely identify the leak’s approximate location from inside, but repairing the roof surface involves risk of falls and the very real possibility of making the problem worse. For defined shingle damage on a low-slope, easily accessible roof, some homeowners can handle a shingle replacement. For flashing, membrane, or structural repairs, call a professional.
If you’re not sure, get an honest assessment. An inspection costs nothing out of pocket with our free estimates.
Leaks that appear during wind-driven rain usually come from flashing failures, not shingles. Shingles shed water by gravity; flashing has to resist wind pressure and capillary action. When the rain is driven sideways, water finds a path behind flashing that normally holds.
These leaks are intermittent, but they’re still damaging. If you suspect flashing, don’t wait for a worse storm. Call (877) 752-3460 to schedule a diagnostic look.
Repair costs vary widely depending on the failure type: a single shingle replacement or pipe boot collar might run $200 – $450, while a flashing repair at a chimney or wall intersection typically lands between $450 and $900. Membrane patch repairs on flat roofs range from $400 to $1,000 depending on accessibility and material matching. If the roof is older and wearing out across a section, the repair estimate jumps quickly.
We provide written line-item quotes so you see exactly what’s included. Estimates are free.
The shorter the better. Between rains, the water that has already entered continues to damage decking, insulation, and framing. Mold begins growing in 48 – 72 hours in the right conditions. A leak left through one hot, dry East Los Angeles summer becomes a rot problem by winter.
If the leak is active now, tarp it and call. If it’s a dry stain but recent, don’t assume it will stay dry through the next storm.
When the scope of a roof repair triggers a permit requirement under Los Angeles building codes, permits are pulled and inspections are passed as part of the project. Most minor repairs fall below the permit threshold, but we’ll tell you honestly whether your job does or doesn’t.
Call (877) 752-3460 and we’ll give you a straight answer about your specific roof.
The Bottom Line
Roof leaks are solvable when the real cause is identified. That means tracing water from the stain uphill to the entry point, reading interior symptoms as a map to the failure type, and matching the repair to the mechanism – not applying sealant and hoping. In East Los Angeles, where sunshine, Santa Ana winds, and aging housing stock all work against the roof, proactive diagnosis beats repeated patching every time. Whether you need a shingle replaced, flashing reset, or a membrane patch matched correctly, the right fix starts with the right diagnosis. Seven brands, one contractor gives us the material breadth to do that. We inspect first, recommend second.
Written by the team at Sunrise Roof Repair, serving East Los Angeles since 2015. Call (877) 752-3460 for a free estimate on any roof repair, replacement, or inspection.
See the difference
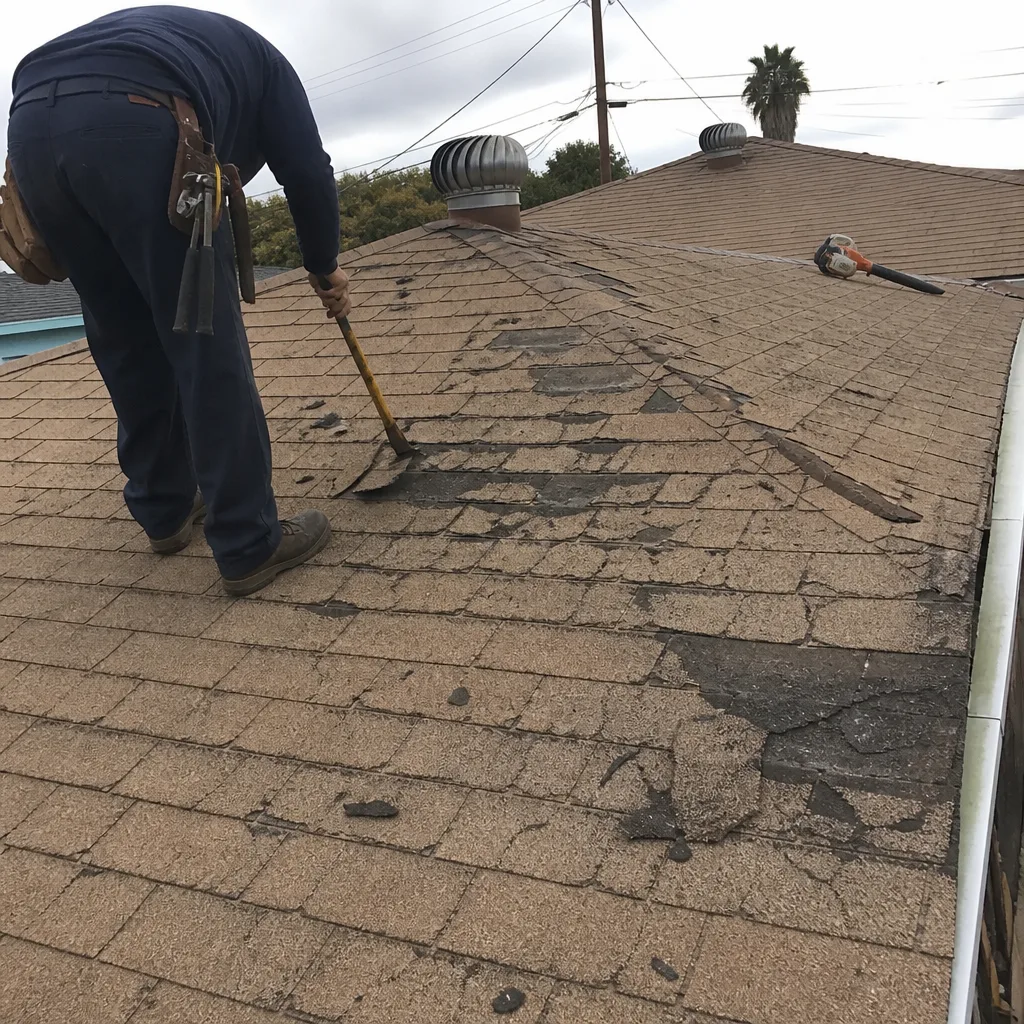 Before
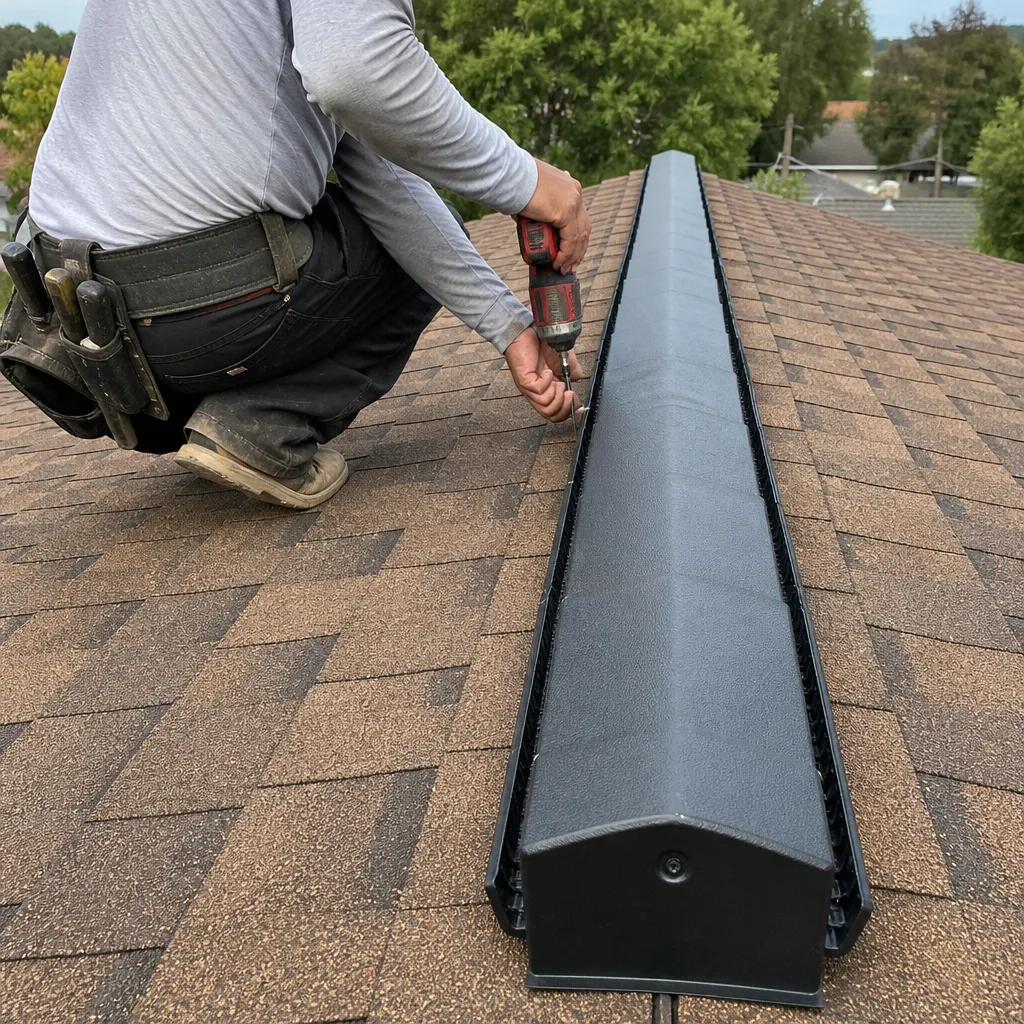 After
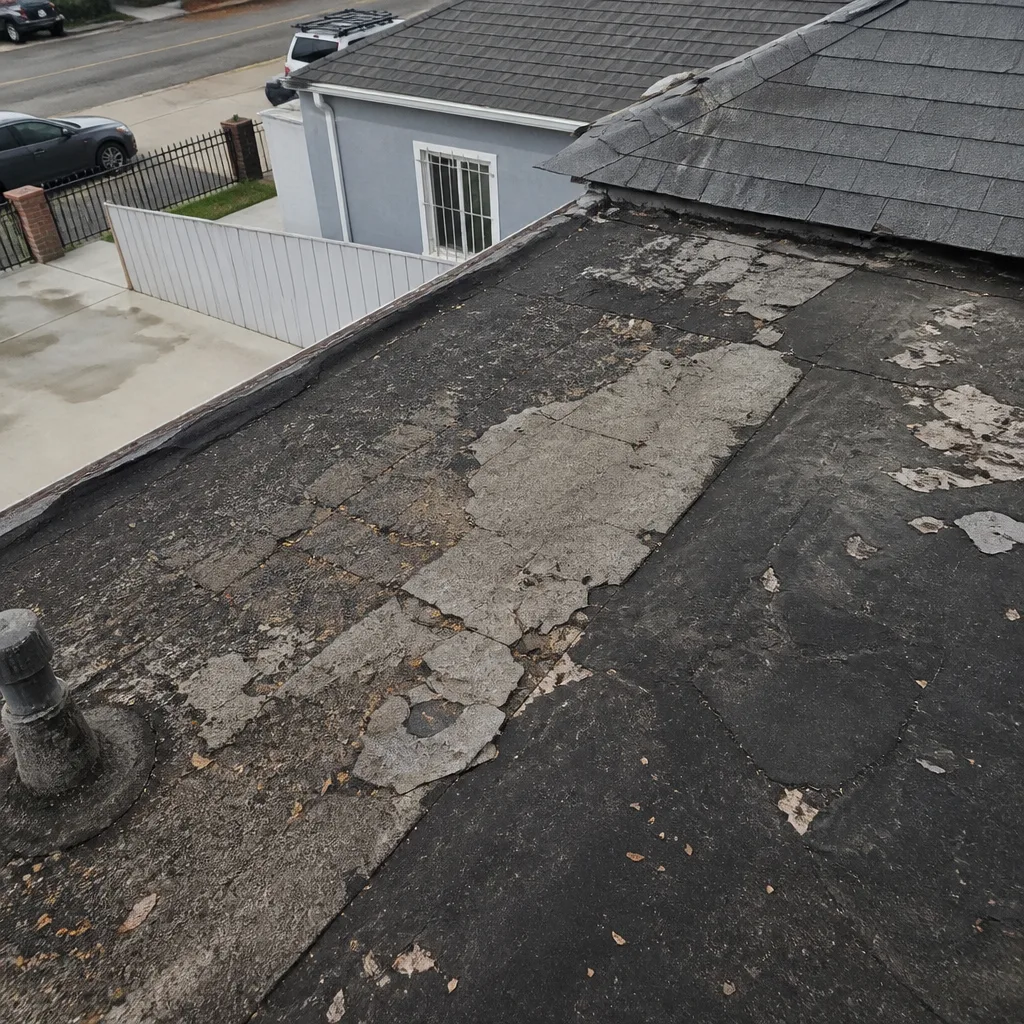 Before
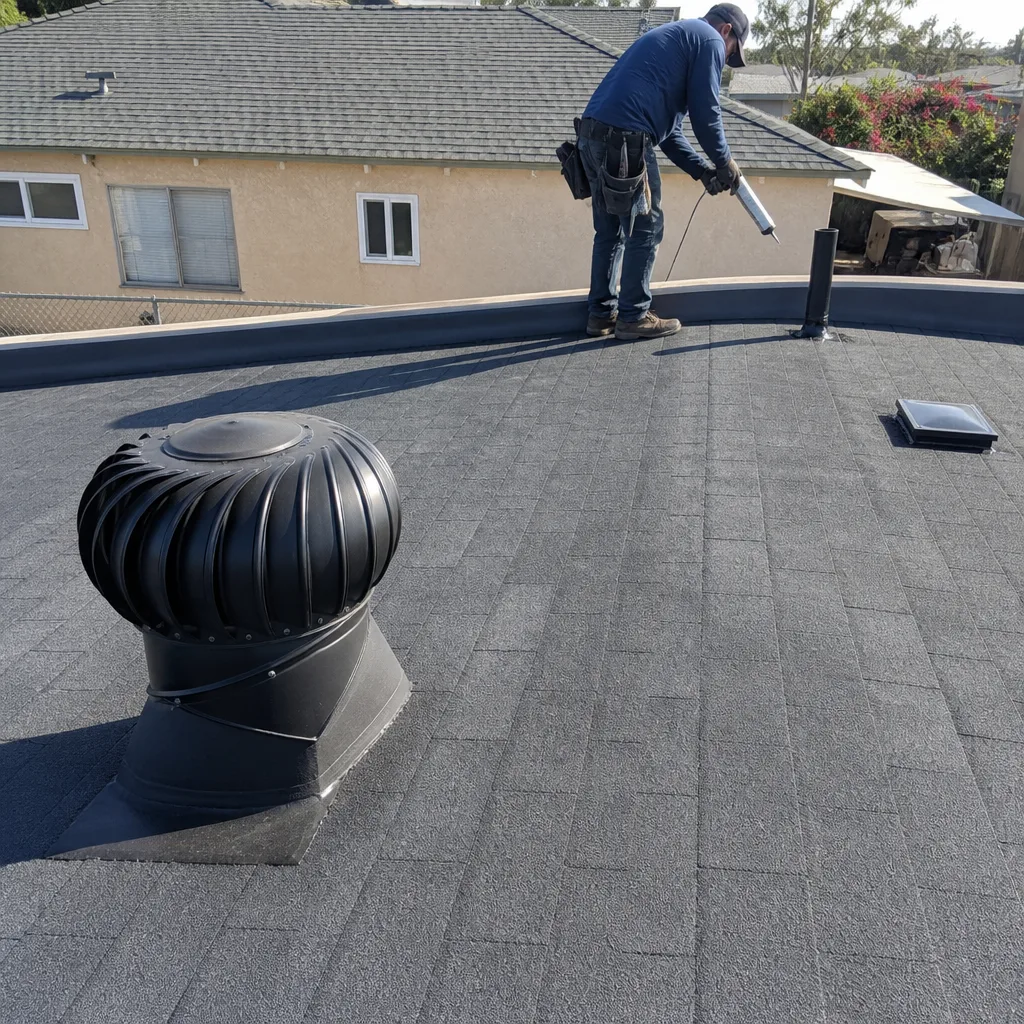 After
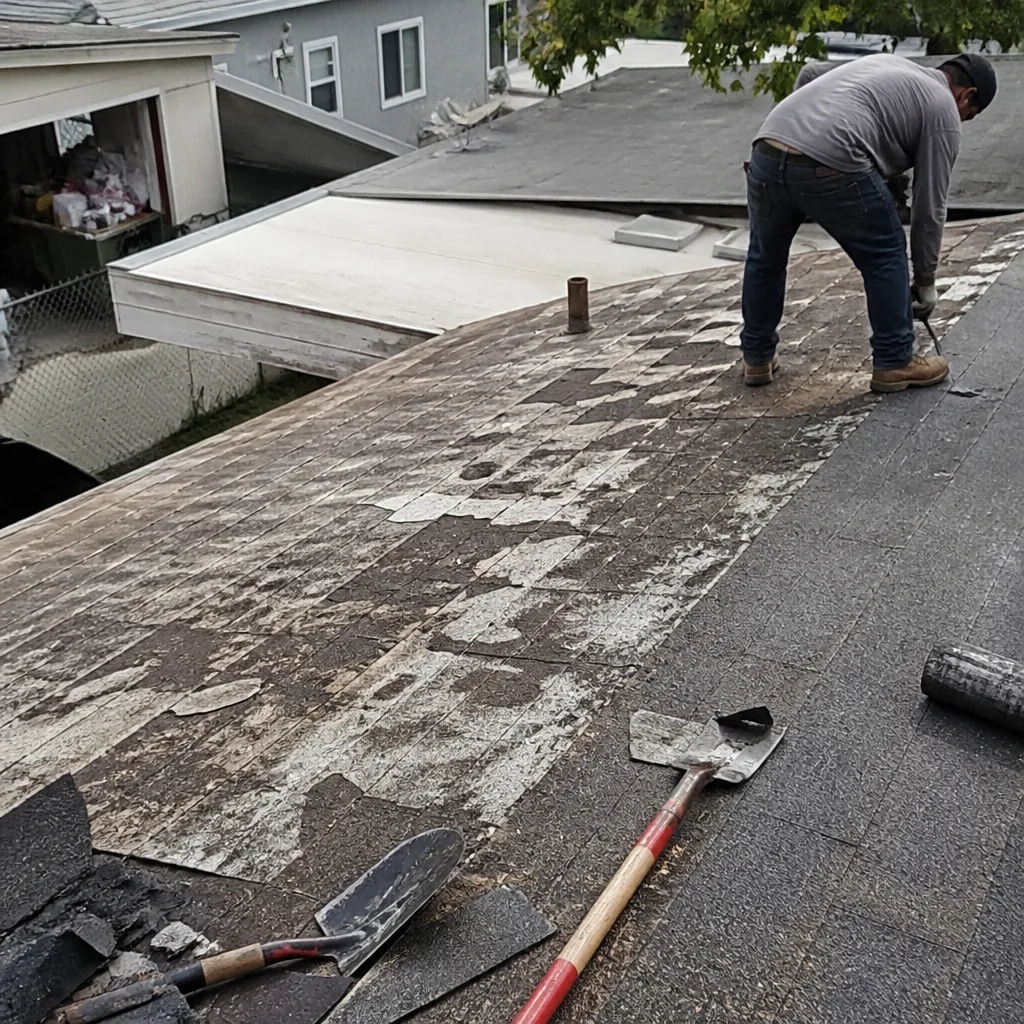 Before
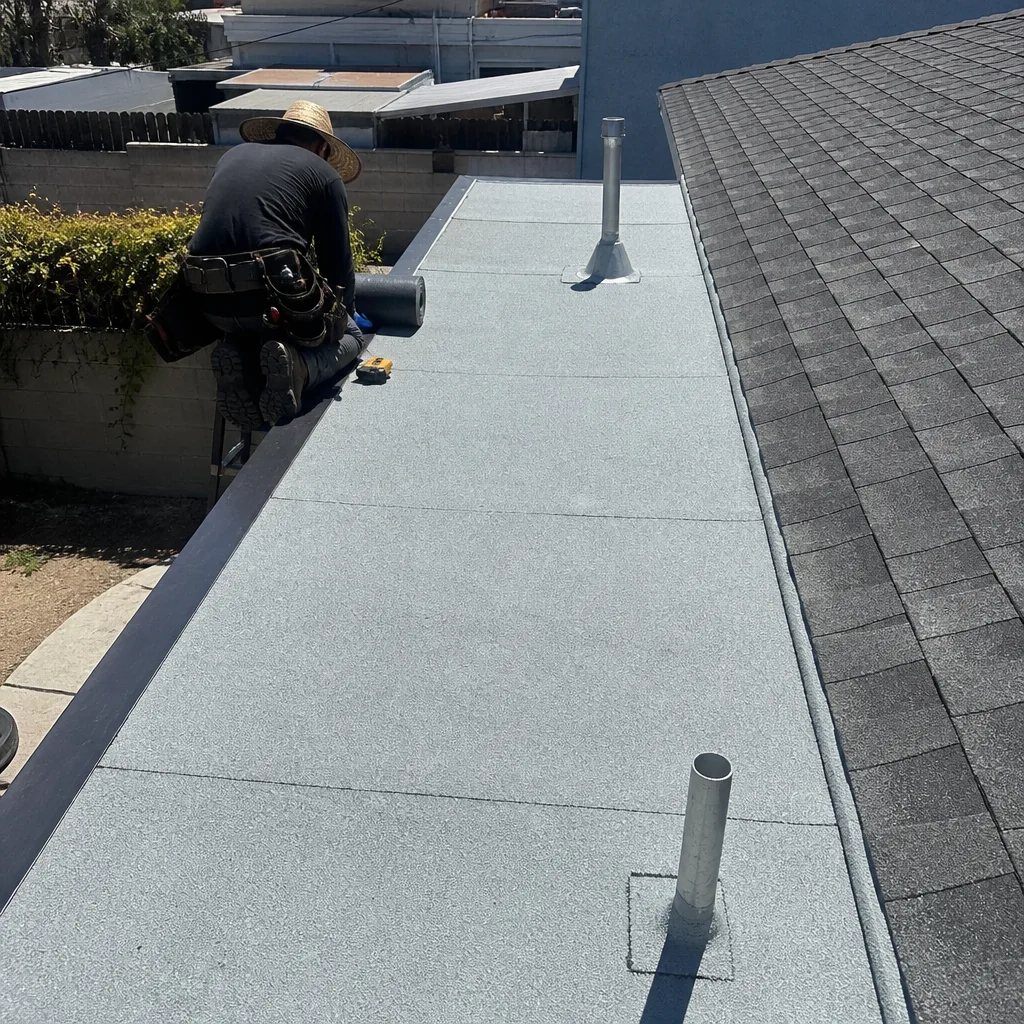 After